Cementing the APH
Written by Ben
Last updated on 2008-06-18
Perhaps this section should be titled "construction" like the previous one because this is where the real construction is done. Solvent welding (or cementing) is a relatively simple process. This page will show you how to solvent weld with pictures. Our FAQ has a few paragraphs on solvent welding too. Also, remember that these steps are general. Some cans of cement and primer may have different procedures. Always read what the cans say and go by that over what we do.
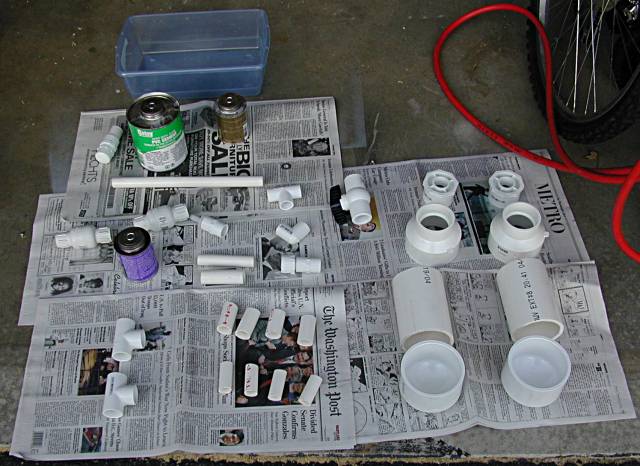
Go to a well ventilated area. I used my garage with the door open. Lay out enough newspaper to place all the parts on and put all the parts on it. Get out your cans of PVC primer and cement.
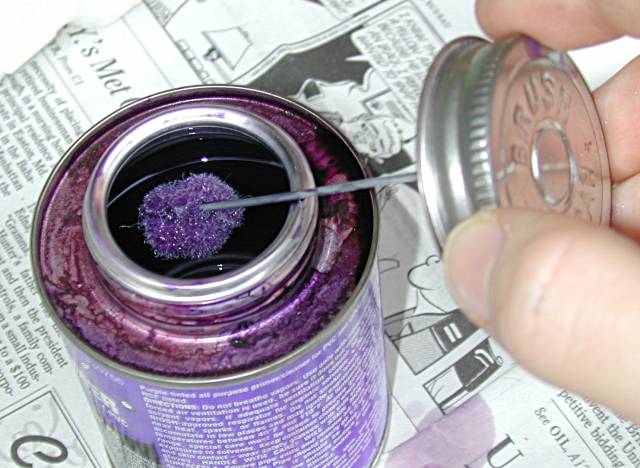
Unscrew the cap of the primer and get the brush out.
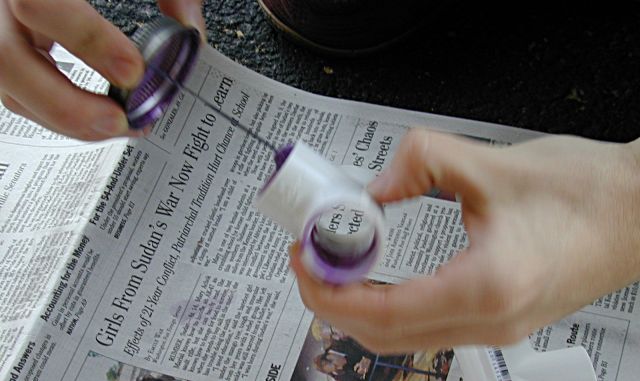
Apply primer by wiping the brush on every part of the pipe and fitting that will touch another part of a pipe or fitting. Make sure all of the areas that will touch are purple. The primer cleans the pipe to make the bond extra strong. This is a very important step. Do not skip the primer.
In the picture you can see that I am applying the primer on the inside of a tee. When done applying primer, lay out the piece so that the part with the primer is not touching the newspaper. When the primer dies on the newspaper, the newspaper will stick to it, and that can be hard to remove. Newspaper doesn't make good seals.
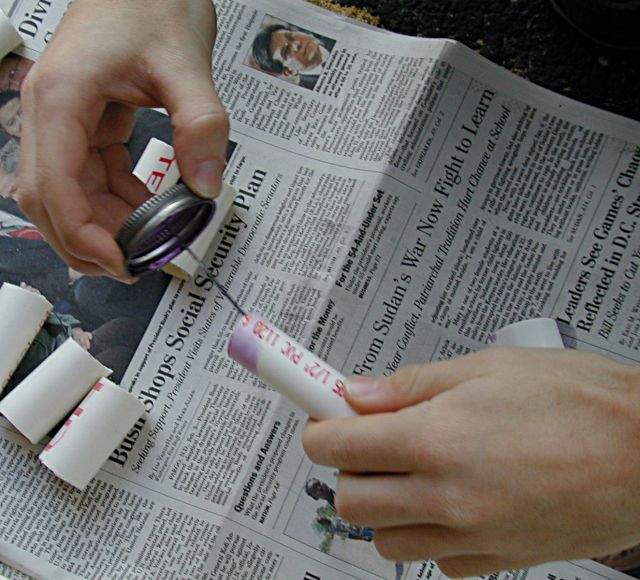
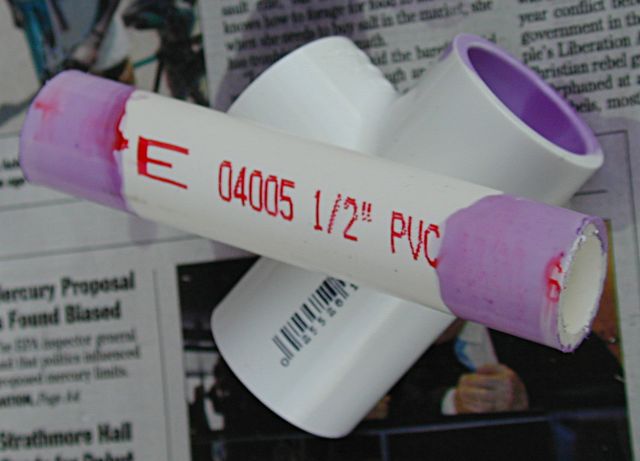
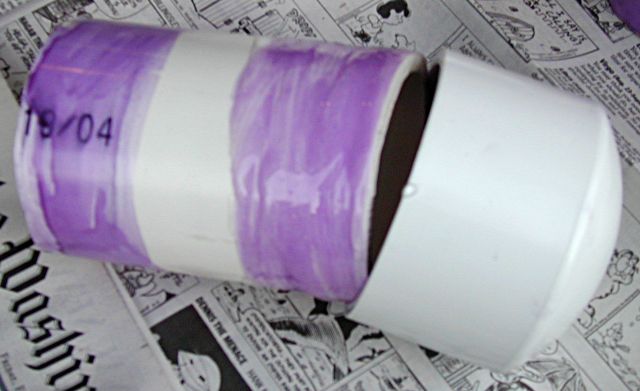
In this image I am applying primer to the outsides of a pipe.
Here are the parts laying out so that the primer doesn't touch the newspaper.
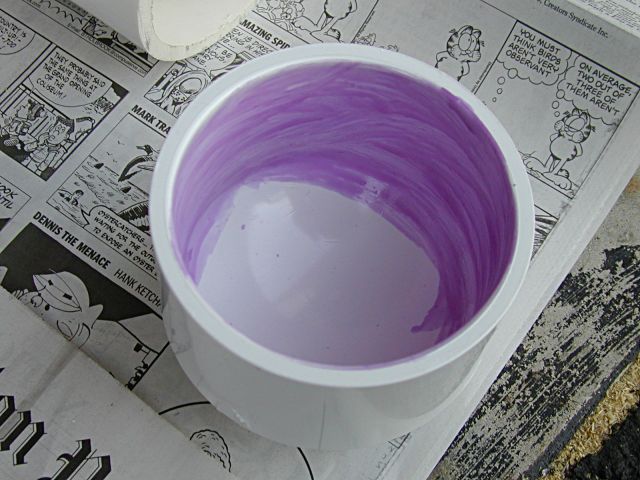
This is the inside of a cap after primer was applied.
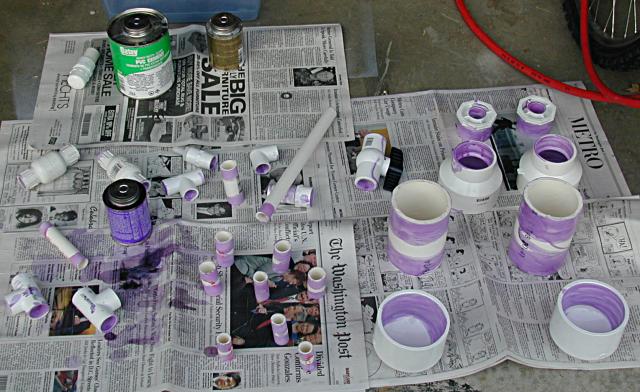
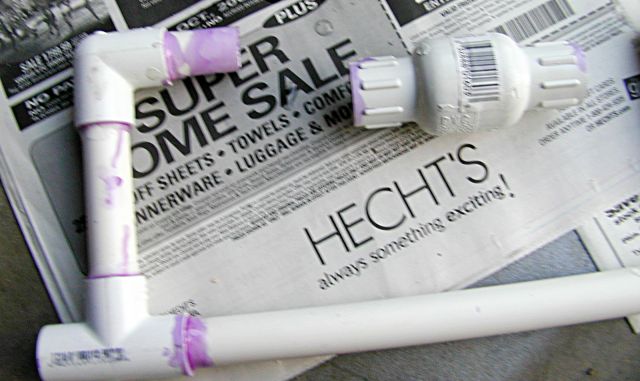
After a few minutes of work, every part is primed. Wait a few minutes for the primer to dry unless the primer can says to apply cement immediately afterward.
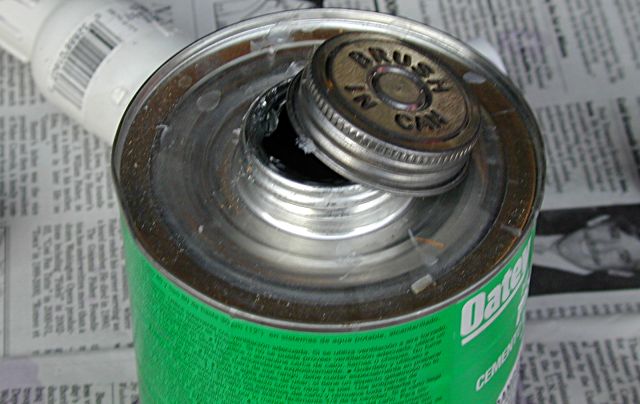
I have two cans of PVC cement. The above green one is large and has a large brush, while my smaller beige one is smaller and has a smaller brush. The big cement can's brush is good for applying a lot of cement, but bad for applying a little bit. Likewise, the little brush is good for applying a little cement, but tedious for a lot.
While it may not be completely clear from the picture, there is cement on the pipe and cap. Apply cement on every area where the pipe and cap will touch and push them together, twisting a bit while you push to spread the cement out. Hold the pieces together for 15 seconds after that. Read the instructions on the cement can because the recommended steps may change.
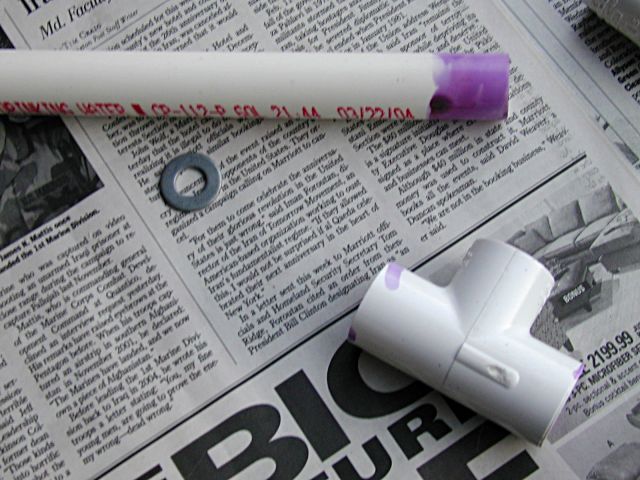
In this image, you can see the washer that will be used to stop the pump from going too far into the water gun. All these parts will need to be cemented together.
If you can't find a washer like this, you can substitute in a metal dowel with a notch for the dowel to go in like in Pepper's homemade.
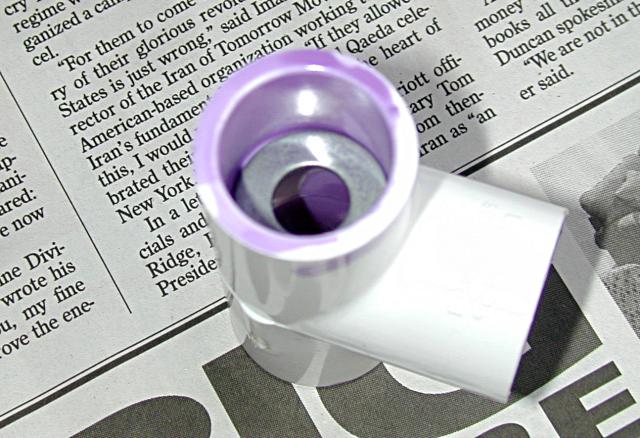
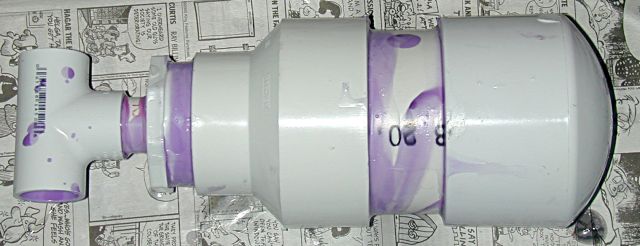
Place the washer into the tee like the image above. Cement the pipe and tee together at that joint as you would if the washer was not there. The washer will be sealed in place.
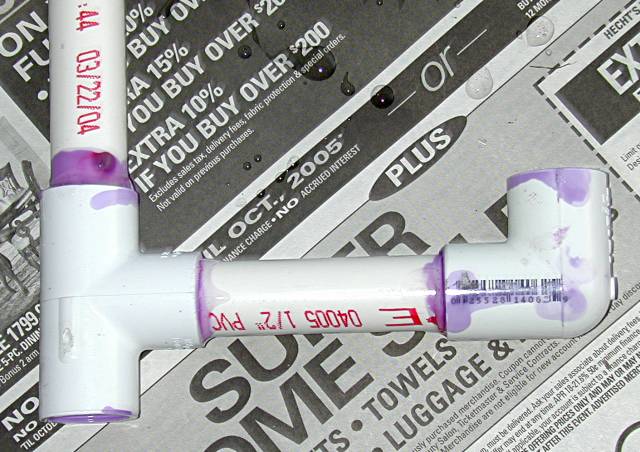
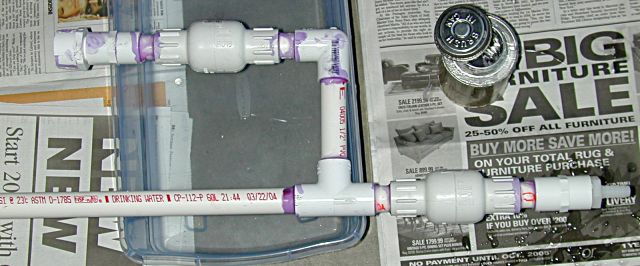
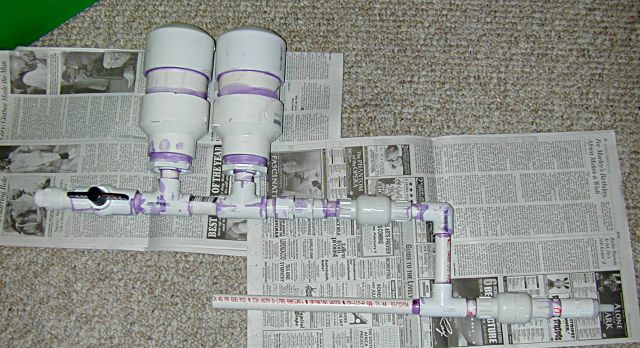
The above image and all those below are just continuing the cementing process until the entire gun is complete.
Be sure to attach the check valves in the correct direction. The check valve to the right should be pointing towards the pressure chambers, and the check valve to the left (not pictured) should be pointing in the same direction. For more information about the orientation of the check valves, read the construction page.
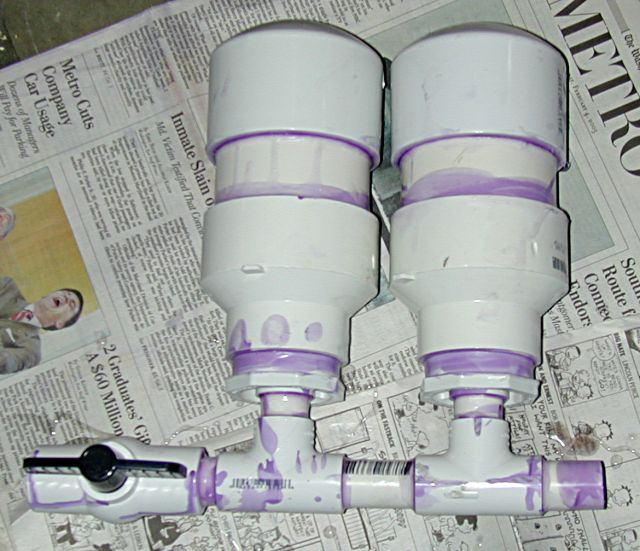
Attach the ball valve in the open position so that air can help the inside cure.
The gun now is cemented together. Let the cement cure for at least 24 hours before testing your water gun. Afterward, lubricate the pump with vaseline by rolling the pump's seal end directly in the vaseline, put the pump in the gun and attach the backpack and whatever nozzle you want to use and the gun is complete.